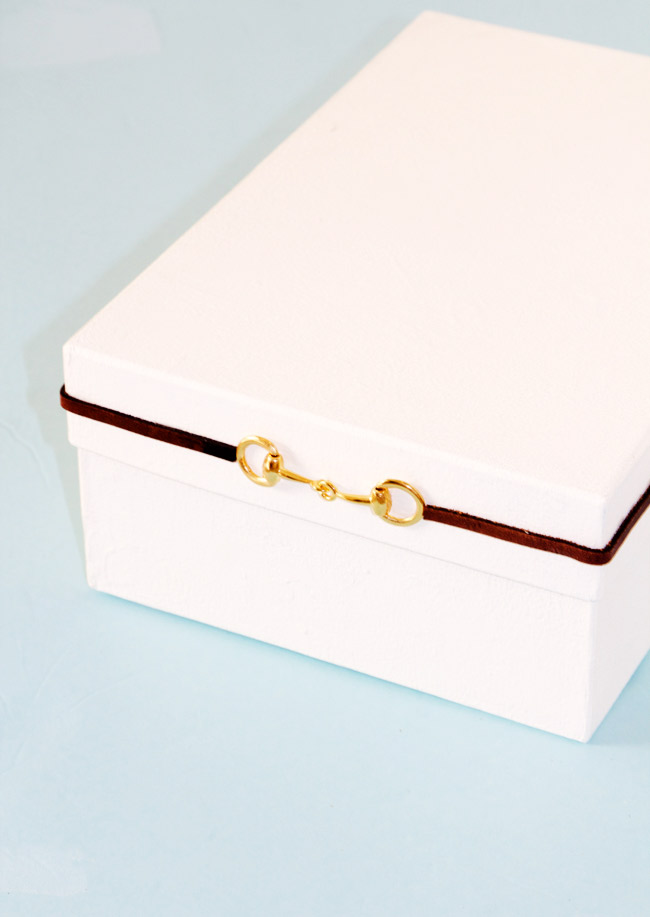
A stylish and chic snaffle bit box is an easy DIY.
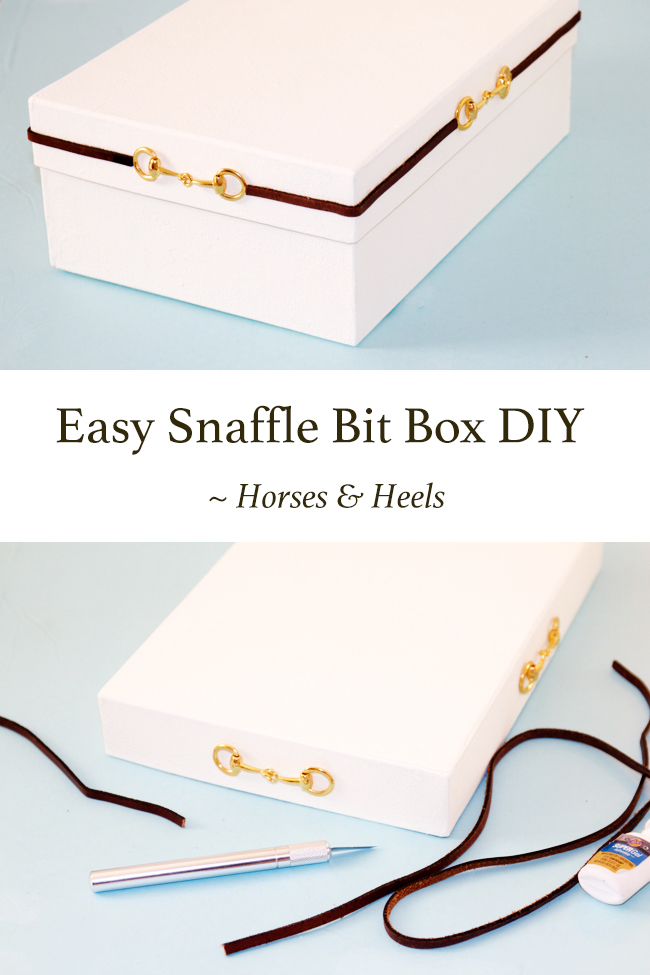
One of my main projects in our Santa Monica apartment has been getting organized and clearing clutter. My office area shelving is small but presents an opportunity for a stylish display. Boxes and baskets are the best way to hide away craft supplies and I happened to find the most beautiful leather and brass snaffle bit boxes online. 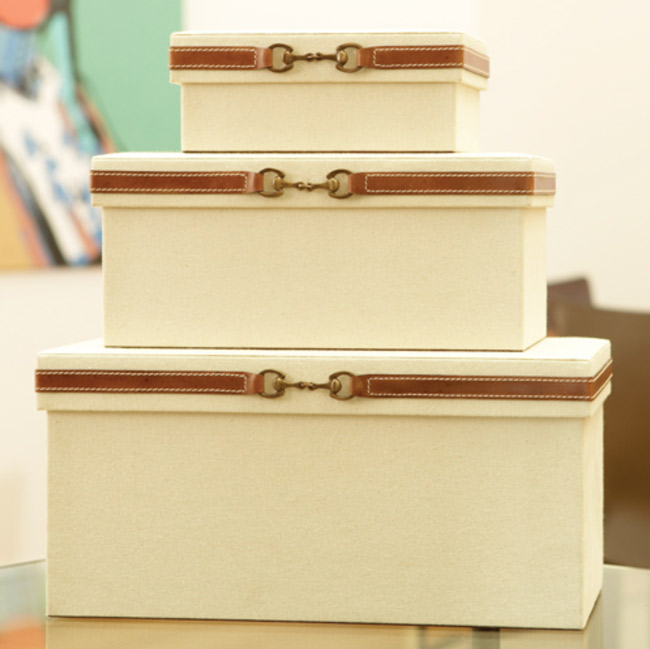
Meet my inspiration. These boxes were perfect in every way except for the price, $135 for the smallest box? If you would like to skip the DIY, you may purchase your own box at TheNewRustic.com. For me it was time for DIY to the rescue and with a little effort on my part, I created my own snaffle bit box.
Snaffle Bit Box DIY Supplies
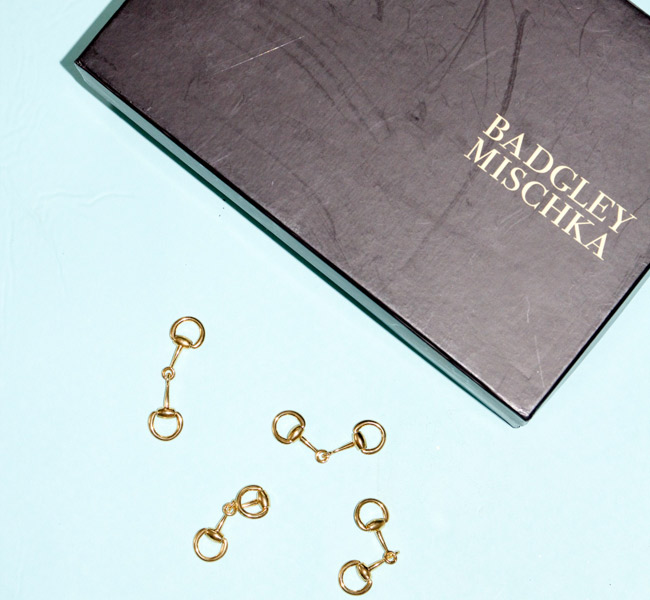
A box – it can be an old shoe box, something from IKEA or a local craft store (I decided to repurpose a sturdy designer Badgley Mischka box). My only emphasis is to make sure you use a strong box that’s meant to last.
Paint – if desired, I used Martha Stewart’s vintage decor paint in ivory on my box. I know it’s strange to cover a black box in white paint, but this paint offers strong coverage and I wanted to be resourceful with my project.
Miniature snaffle bits. I purchased my gold snaffle bits from Beading Babes Boutique on Etsy. I went with the smaller sized bits, you can get larger ones and silver too.
Leather string. I happened to have some in my magic box of craft supplies but you can easily pick this up at a local craft store.
A good glue. I used Aleene’s Tack Glue for gluing the leather to the box and Aleene’s Super Glue Adhesive for attaching the bits to the box.
A ruler for measuring and creating equal placement of the bits.
An X-Acto knife for cutting the leather.
- If you are painting the box, go ahead and do this first and allow it to dry completely before attempting to attach your bits and leather. I needed to use two coats of paint on my box and lid exterior.
- Measure around your box and determine the amount of leather you need and where to place your bits. Use a pencil to make tiny dots and mark out placements.
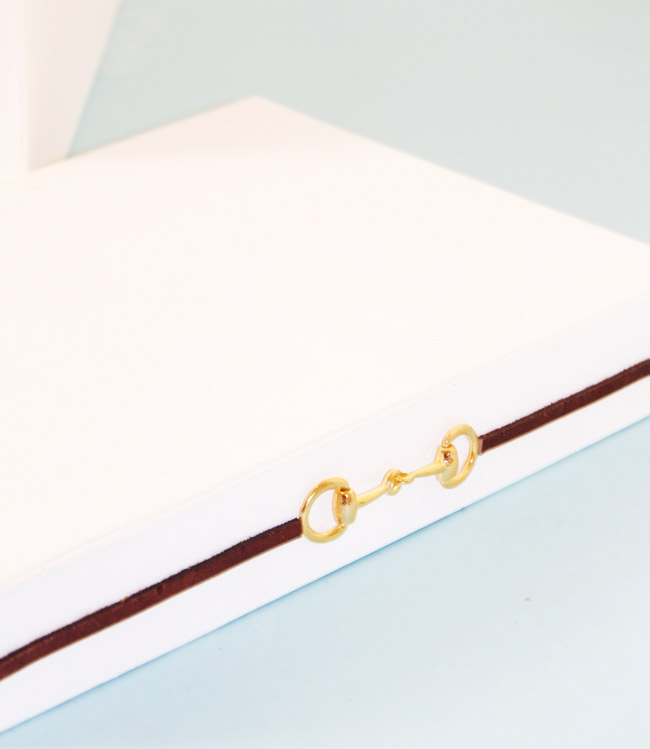
- Carefully add a few drops of glue and secure the snaffle bits one side at a time first. Allow them to dry for at least an hour and then proceed with placing the leather.
- Measure, cut and glue the leather strips one at a time until complete.
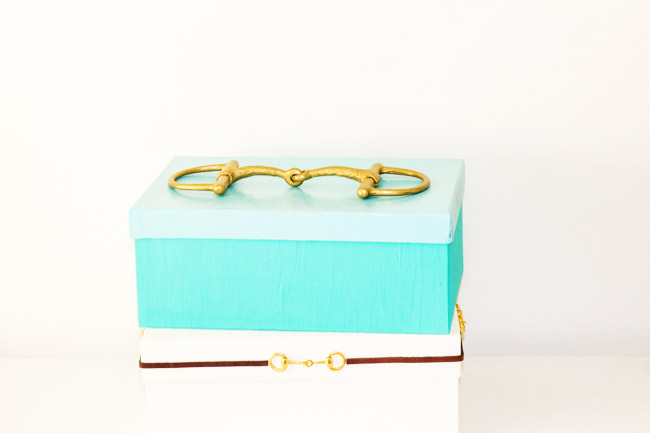
I also created a second snaffle bit box, but that’s another DIY for next time.
Looking for more DIY projects? Check out these.

Hapinesswherever says
I LOVE this DIY- like you, I’m a horsey DIY-er 🙂 And I love heels too! 🙂
Raquel Lynn says
Thanks for stopping by! : )
Paula walker says
What a wonderful inspiration and THANK YOU for the BEADING BABES BOUTIQUE lead!! I’m still doing my trinket boxes painted with nail polish and am always looking for horsey embellishments that look true to life!! I have yet to do a “trinket” box that can carry off a real snaffle bit!!! Haha!! So thank you again for that lead. And what classy, beautiful boxes. If I think about it I will send a photo of the trinket box I make using their snaffle bits and cute little horses. I also make Western Dressage boxes from nice boxes and wooden ones too. The best boxes in the world to use are the ones my iPhone has come in I have discovered!!! Be sire to check those out when you can!!!!! Thank you for the inspiration!!!!
Raquel Lynn says
Hey Paula, I’m glad to help : ) I had been wanting to do these boxes for a while but had no idea where to find cute and little snaffle bits! Have fun making your boxes and please feel free to share you boxes with me!
Courtney says
Hi! Where did you find the real snaffle bit for the top piece? Obsessed with it and trying to incorporate into our wedding card box.
Thanks!
Raquel says
Hi Courtney! I used an old bit I had in the barn. Try looking on eBay or Etsy for old horse bits and you will find some. If you have any equestrian friends, they can point you in the right direction.