An affordable way to create beautiful art and memories for your home. 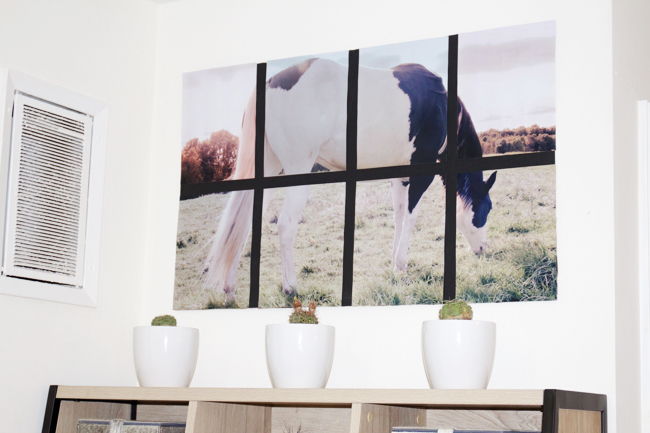
My sleep schedule is out of control these days and the mind creative has a hard time shutting down, so I’ve been working on a lot of projects around the apartment. Remember my Modern Southwestern Office Inspiration post? I decided I needed some large horse art.
I’m obsessed with pinning oversized pieces of equine art and there are so many stunning equine photographers and artists. The options for beautiful art are endless and sometimes very expensive. I wanted something that was personal and still affordable.
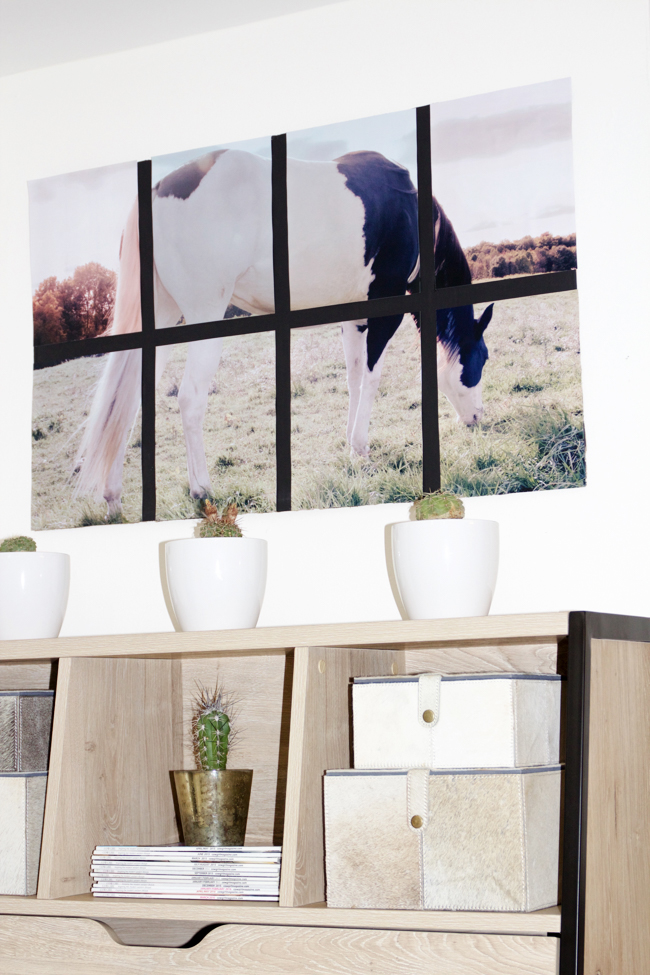
I wanted to take a photo of Rumor and turn it into art for above my desk. I couldn’t be happier with the way this project turned out and would definitely make more of these in the future. My piece is made up of 8 x 10 photos printed in sections.
Supplies
A high-resolution photo
Photoshop or a friend with Photoshop 😉
Photo paper and a photo printer – or a trip to CVS.
Foam board or backing – wood, canvas or other sturdy mediums work
Ruler
Paint (optional)
Command strips or hooks for hanging
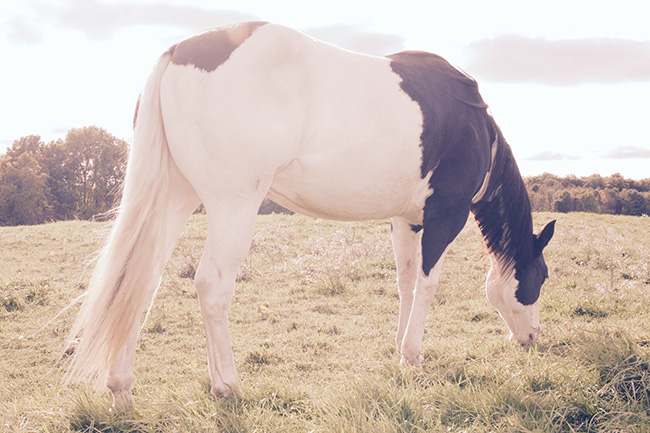
I took this photo of Rumor grazing and it was so peaceful – I knew I wanted a photo in a sepia or “filtered color” so I altered it in Photoshop. You can leave your photo as is or do whatever you would like.
Open your photo in Photoshop and slice it into sections. If you don’t know how to do this, don’t worry. I Googled my way through the whole process. Read more about using the slicer tool with this awesome tutorial I found on udemy (they will explain the process better than I can). Another awesome video about slicing your photos is found here, it’s quick and to the point. Make sure to save your photos for web quality at the highest quality (100).
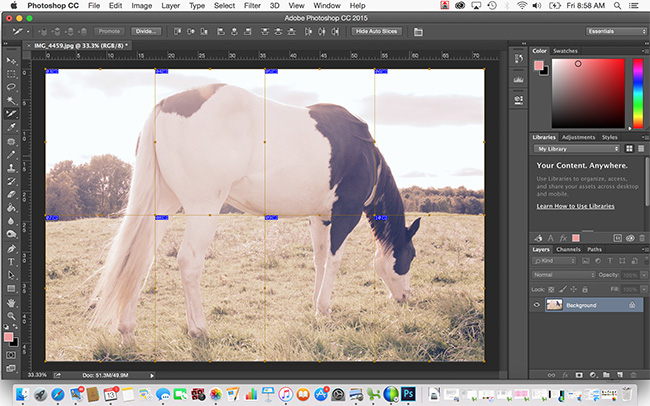
Save the individual photo slices on your computer and get ready to print. If you happen to have a home printer that can print on photo paper, use it. I don’t and opted to go to CVS and print my photos out a 8 x 10 prints. CVS has an option for prints in seconds or in an hour – I went with the hour option because it’s a little bit cheaper and the quality is better than prints in seconds.
You can decide to print your photo on any size prints, pick the perfect size for your space and project. 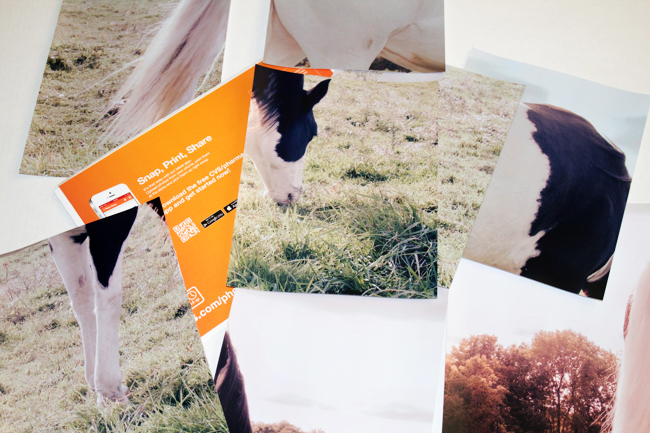
Once you have your printed photos, lay them out and decide how much space you would like to put in between the pictures. A little tip – just pick up wide painter’s tape and let that be your grid line guide for perfect spacing. Determine the size of the foam or canvas board you will need. I had to purchase a larger foam board and trim it down to size, this is also why I had to paint my foam board – the large size only came in white and I wanted a black background.
This project would also look beautiful over some rustic wood but my ultimate goal was to create something light weight that could be hung up with Command hooks. I have to keep things renter friendly around here. 😬
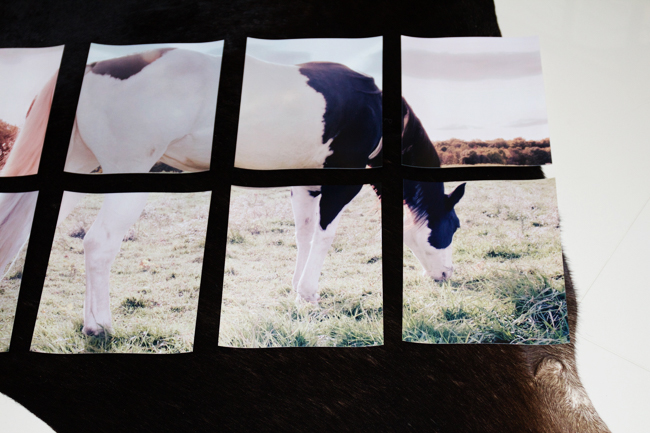
I used an X-Acto knife to cut up my foam board. I also had to paint my board black before I laid down my photos. Hopefully you can avoid the painting and cutting step if you find the color and size you are looking for.
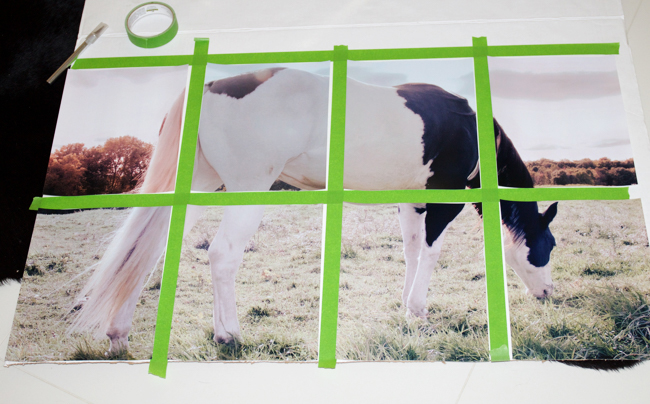
The rest of the steps are self-explanatory; measure the spaces equally and use a thin layer of Mod Podge on the back of each photo. Gently press down and make sure you get the corners. Avoid applying a heavy coat of Mod Podge so you don’t get bumps and ripples.
Let your piece dry overnight and then attach Command strips to the back before you hang it up.
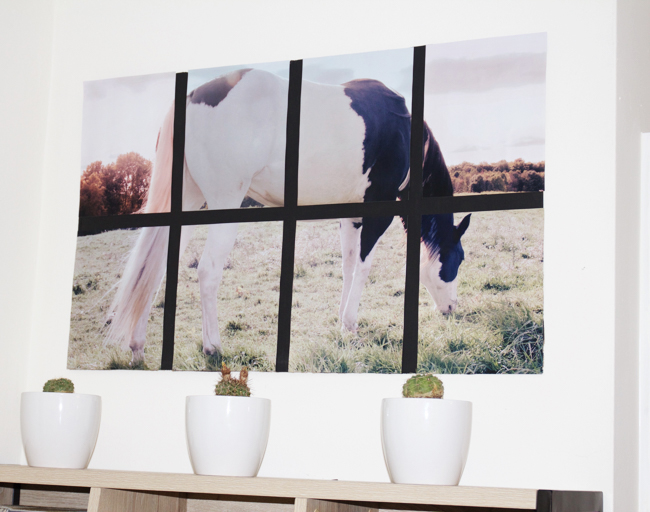
That’s it! Now sit back and admire your beautiful piece of custom art. I’m curious to see how the Mod Podge and this piece holds up over time but I’m happy with the final result. This whole project cost around $40.
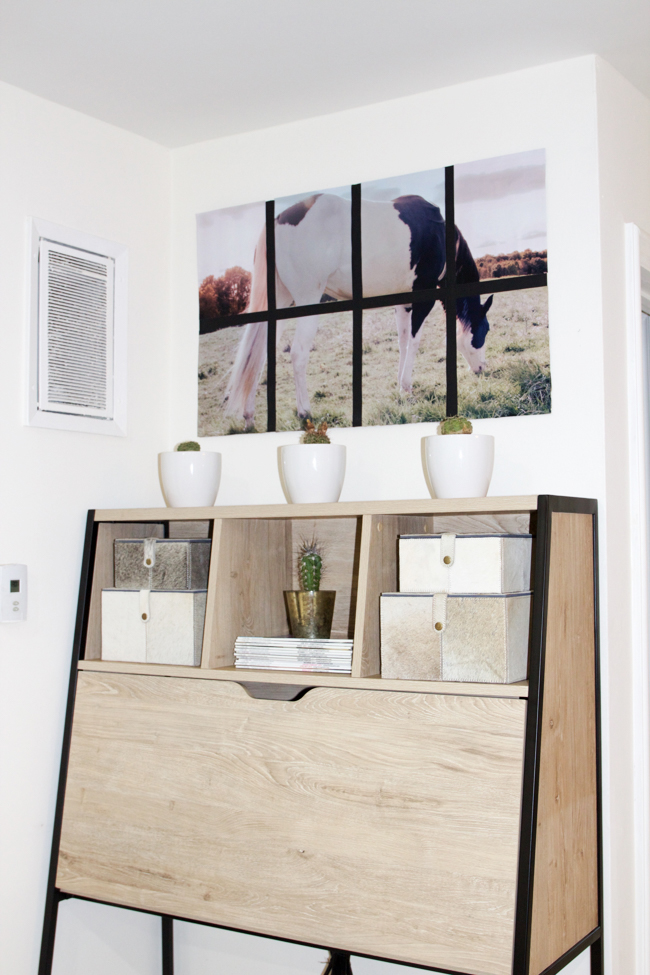
The photo looks great above my desk with my cowhide boxes and cacti plants. Hello southwest vibes.
Follow me on Instagram, if you end up making your own art be sure to tag @Horsesandheels_ in the photos.
Carly Kade says
This is awesome! I love reading about your horsey DIY projects. I can’t wait to give it a whirl. Thanks again for sharing another neat idea.