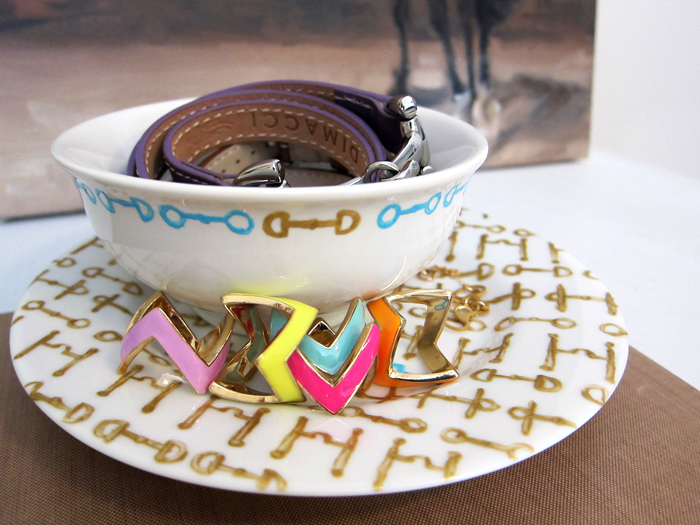
 Hello everyone! I’m Danielle from Cavalcade. I was so excited and honored when Raquel asked me to create a guest post DIY project for Horses & Heels; one of my favorite equestrian blogs!
The Project: Creating equestrian chic jewelry displays/organizers using hand painted porcelain dishes and plates.
Supplies Needed:
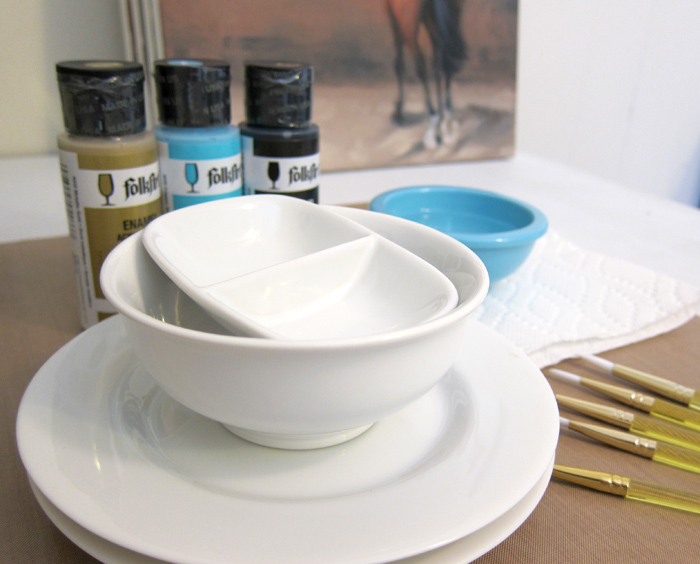
Small porcelain dishes and plates – I found the plates at a thrift store for $0.50 each. The sauce dishes were $1.99 each at Target.
Folk Art enamel paint – This project uses 4033 Metallic Gold and 4039 Calypso Sky.
An assorted pack of all media nylon paint brushes
Rubbing alcohol
Cotton pads
Paper towels
Two containers of water
Oven
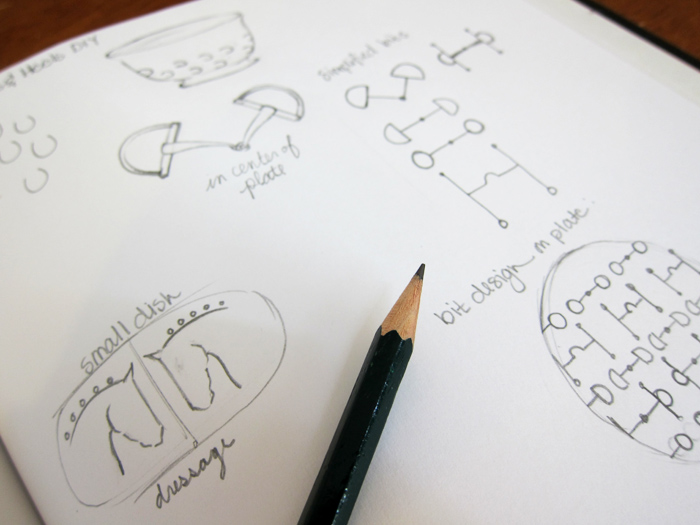
Step 1: First, I brainstormed and sketched different design possibilities. For this DIY, I chose to use the assorted horse bits design I created (lower right in image) because the design is simple, graphic, and easy to draw on many different shapes.
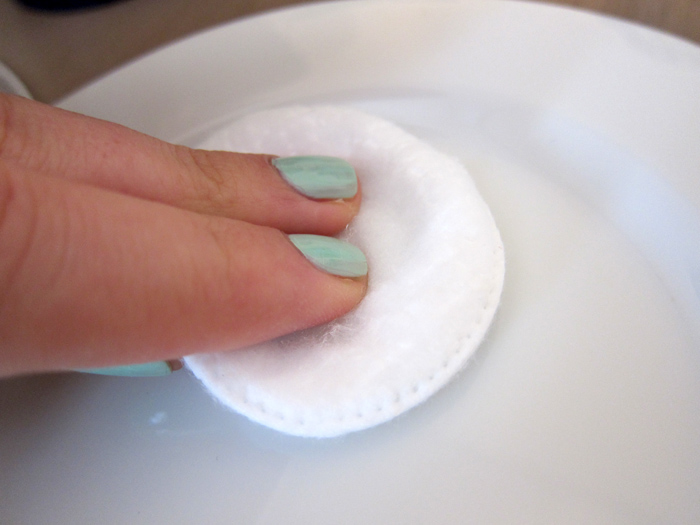
Step 2: Wash all porcelain with soap and water and wipe the surface down with rubbing alcohol to remove any oils. It is important to have a completely clean painting surface; the paint adheres better and has less of a chance of chipping off over time.
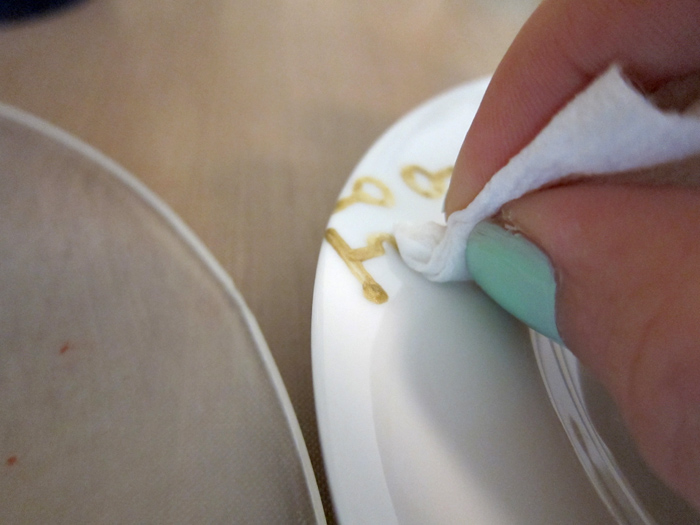
Step 3: Gather all of your supplies. I used two separate containers for water: one for cleaning my brush, and one to dampen paper towels. A damp paper towel will serve as an eraser, easily wiping away any mistakes. You will need less than a quarter-sized amount of paint for the entire project.
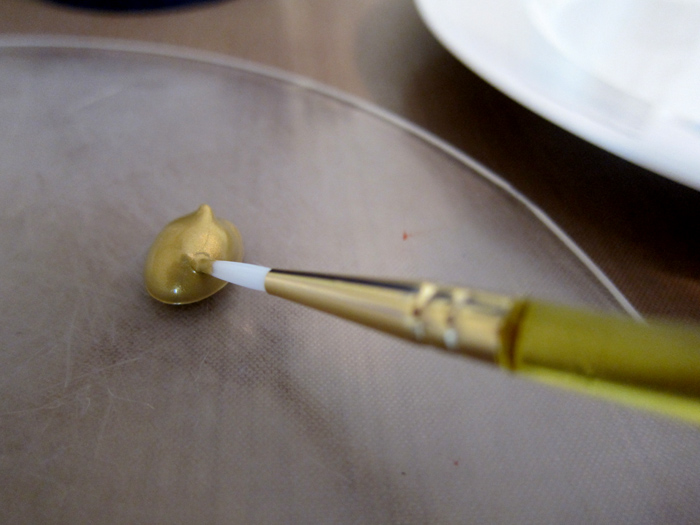
Note: Porcelain paint pen DIY projects are currently very popular. After looking at reviews for the paint pens on the market, I found that many people were not happy with the quality of the pens. Apparently, the pens do not survive the dishwasher well and start chipping after only a few weeks of use. Enamel paint had much better reviews. Plus, the Folk Art brand enamel paint is waterbased, making fixing mistakes and cleanup easy.
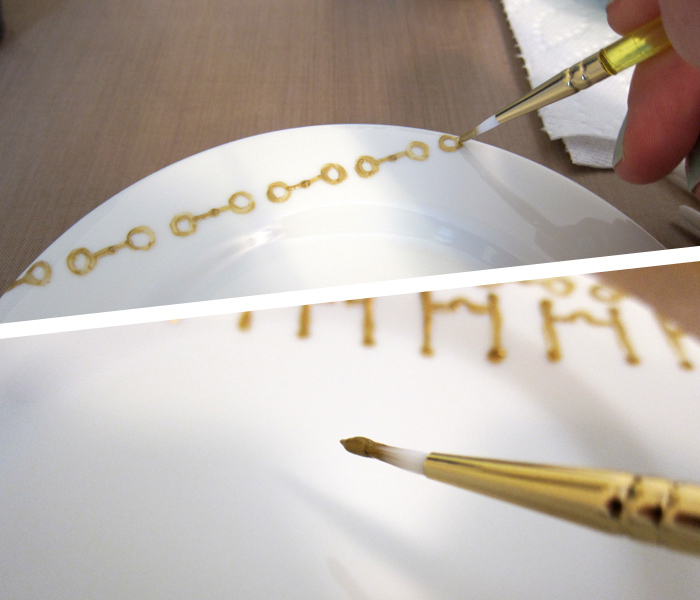
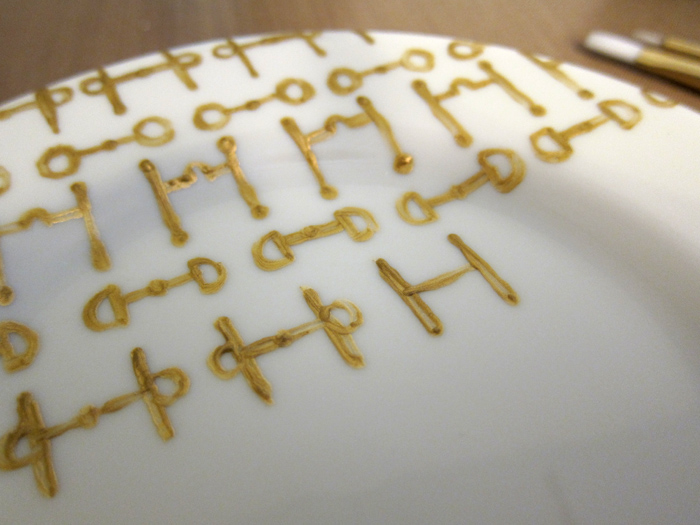
Step 4: Start decorating! I recommend loading your brush with a lot of paint and barely skimming the surface of the porcelain when you are painting on your designs. This creates a bold and thin line. If you press down too hard with your brush, the line will be too translucent.
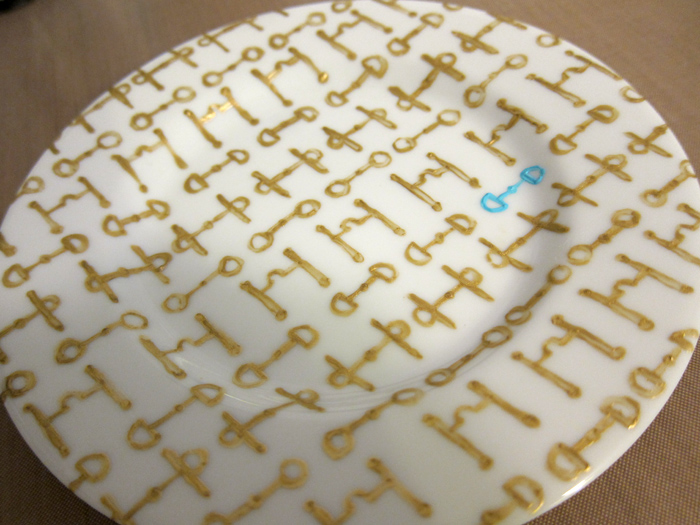
The assorted bits design I used to create this design is completely composed of basic geometric and letter shapes.
Step 5: When you have finished painting all of your plates and dishes, let them air dry for one hour. Place them in a cool oven and heat the oven to 350 degrees F; allowing the plates to heat up slowly with the oven. Once the oven has come up to temperature, bake everything for 30 minutes. Turn the oven off and allow the plates and dishes to cool completely before removing them.
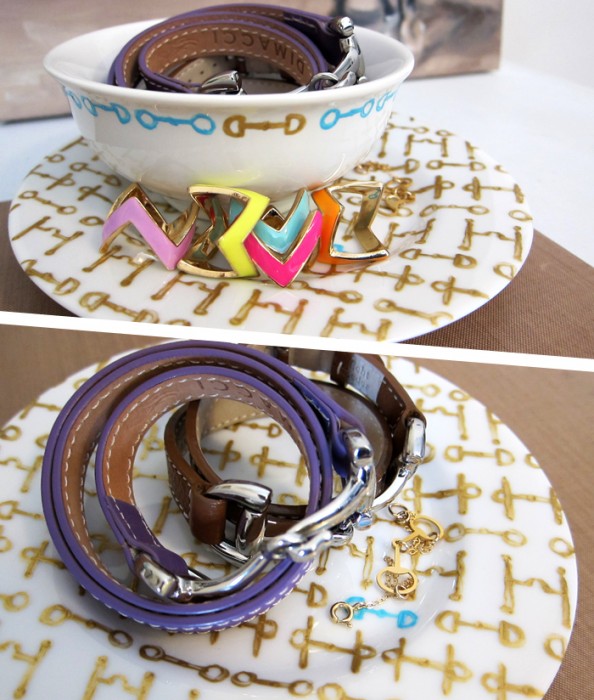
Step 6: Organize your jewelry!
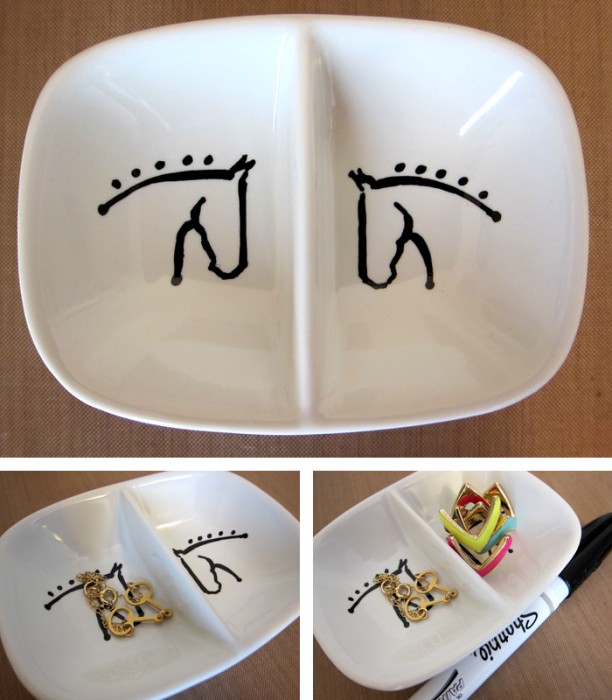
Additional Project Idea: I have heard some good things about the new oil based paint pens. I purchased the Extra Fine Point pen in black to test how well they work on porcelain. I loved how easily and vibrantly the pen draws on the porcelain, but I am not sure yet how long the design will last.
For a project like this, where the porcelain dishes and bowls will only be used to display and organize jewelry, it could last quite a while. The photos above show the design I drew on one of the sauce dishes I purchased at Target as an experiment. It will be interesting to see how the design holds up. If it is durable, I am buying these oil based paint Sharpies in every color! (I baked this in the oven at the same time as the other porcelain dishes and plates.)
Thank you Raquel for having me on Horses & Heels!
Baskins Western & Work Wear says
Wow! Love these, especially the horse silhouette bowl! Very creative 🙂
Dexter Grass says
What a fantastic idea, thanks for the step by step tips, I’m going to try it!
Jessica says
I love these! I am definitely going to try this! Thanks for another great post!
anne corr says
This is lovely!!