This post brought to you by Faultless/Bon Ami Company. The content and opinions expressed below are that of Horses & Heels.
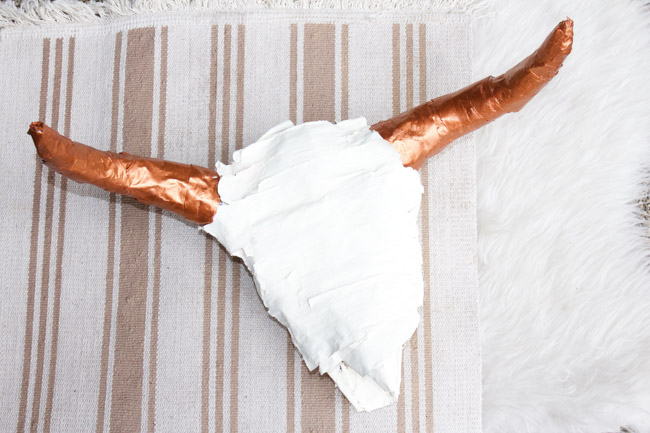
If you follow me on Pinterest it’s no secret that I am obsessed with cow skulls. The real ones can be expensive and even the faux skulls can be pricey. One of my favorite pieces of home decor is a ceramic white and gold cow skull that hangs over the bar cart at home. I have been longing for a second one but since my original skull was a TJ Maxx score I hadn’t quite found one to match the same ascetic.
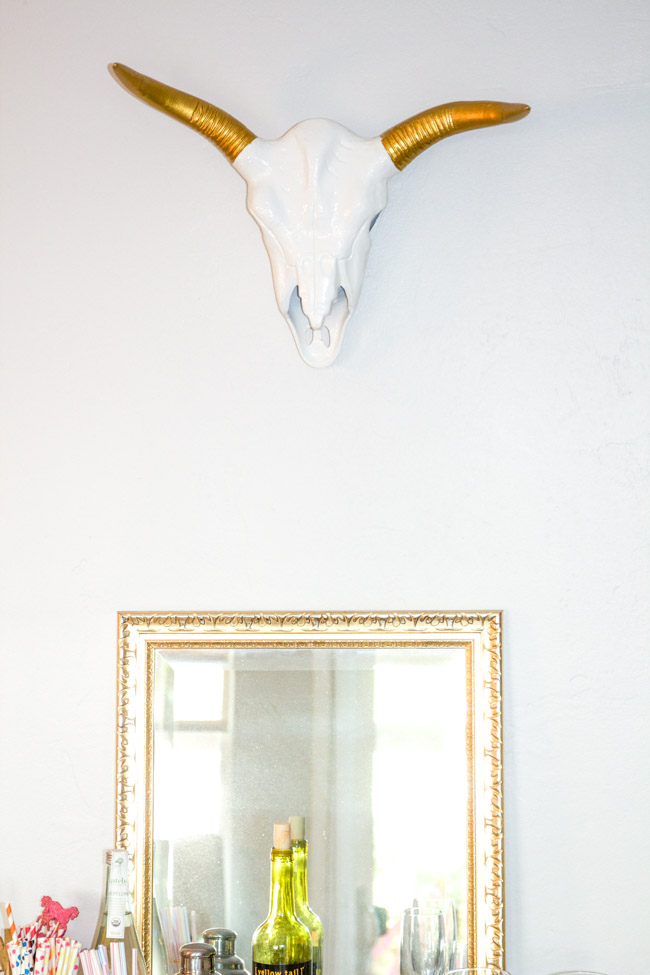
What do you do when you cannot buy something? You make it. I created a practically identical skull using a paper mache technique. Of course, with all DIY projects there are a few imperfections but that’s okay.
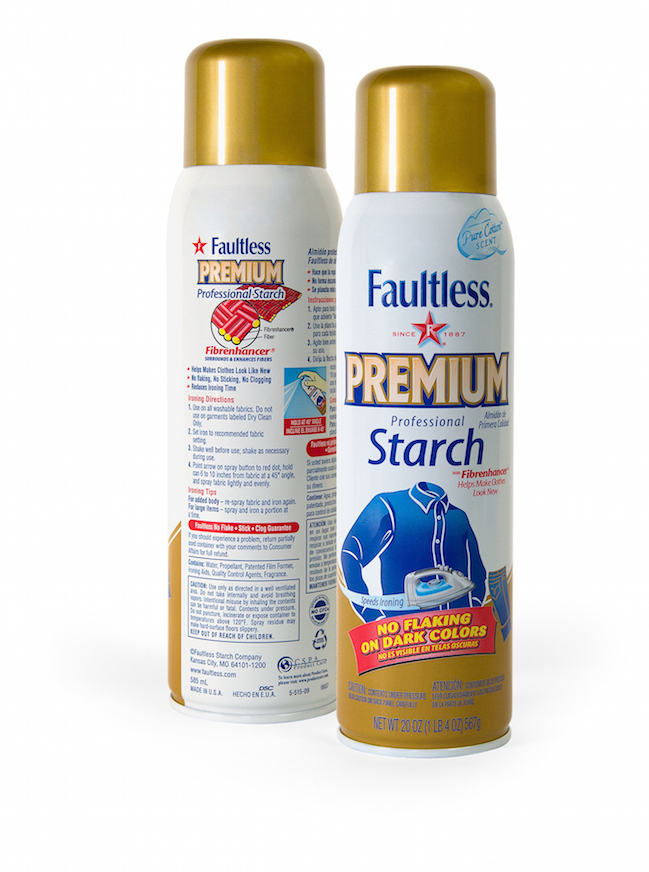 There are so many different ways to make paper mache paste – glue, salt, water, flour… Sounds tricky, right? I actually created my paste using Faultless Starch Premium. You see Faultless starch is actually for clothing; it helps keep your clothes looking brand new and gives you the confidence to do your best work but I decided I needed to give my starch some other tasks. Faultless Premium comes in a bottle that won’t clog up or become flaky and sticky.
Supplies Needed
Newspaper
Paper Mache Paste (Faultless Premium Starch, flour and water)
A mold for your cow skull
Paint in your choice of colors
1. Gather up all of your supplies and then prepare the mold. Wrap aluminum foil around the horns and sections of the cow skull. You are going to make this in sections and bond it all together at the end. The foil protects your existing cow skull and is the start of a perfect base!
2. Make the paper mache paste. My formula was this – one cup of Faultless Premium Starch, 1/2 cup flour plus about 1/4 cup water. A couple of things to note, the Faultless Premium Starch does come in a spray bottle (they do have a liquid formula) so you will have a cup of foamy starch. Mix everything up and use immediately.
3. Tear the newspaper into strips, dunk in paper mache paste and wrap around the foiled sections. Allow everything to dry for at least 12 hours before doing a second coat. I recommend doing at least two coats, you can do a third coat if you want your piece to be extra durable.
4. The foil allows you to be able to slide the pieces off your cow skull easily. Once all of your pieces have been made, assemble them together and bond with additional paper mache paste. It seems like a daunting process but it was a lot easier than I anticipated. I did put holes in the back of my skull so I could hang it or set it on the table, my eye holes were cut too. My advice for this is to cut a bigger hole than you need. You can always fill it in later.
5. Once your cow skull is put together allow it to dry completely for 12 to 24 hours and then paint it! I just wanted my horns to be painted like my original piece and opted for a fresh white background. You could get really creative and make designs or prints. My horns are a pretty shade of copper and the base is white. For maximum coverage, apply two coats of paint.
 Hang on the wall or on a place on a table and admire your beautiful masterpiece for a fraction of the price.
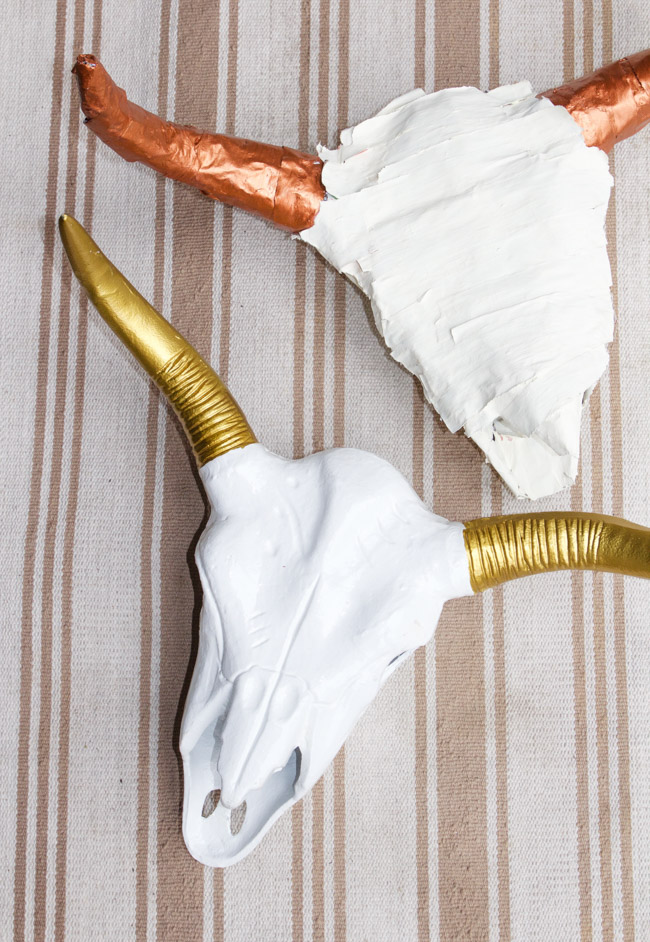
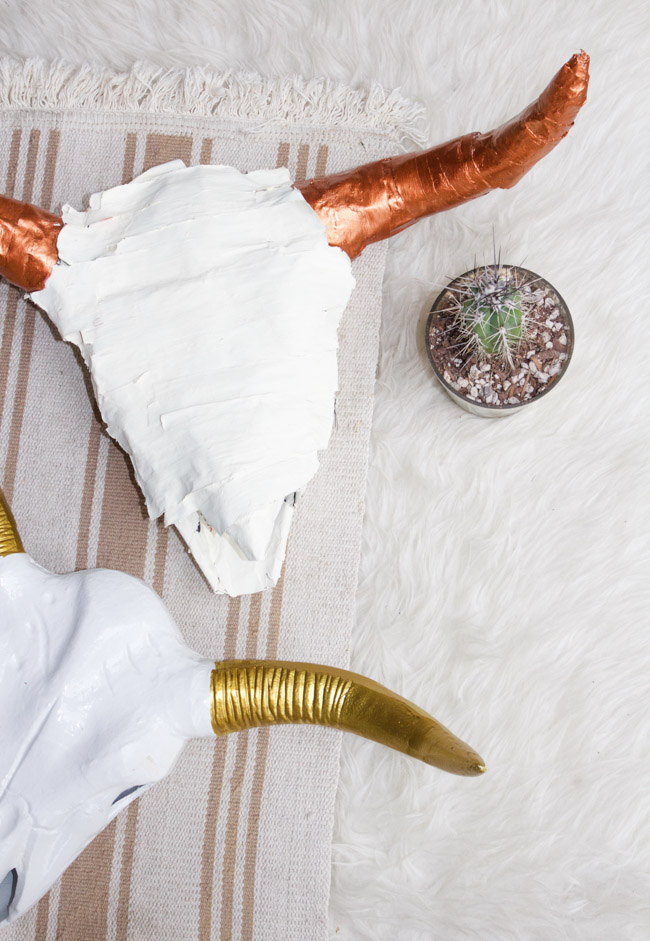
My original ceramic skull and my new one, I have a thing for mixed metals right now and might try to attempt another skull with silver horns.
If you think this DIY project looks like too much work, you can always buy a cow skull online.
If you thought this paper project was fun, be sure to check out my DIY Horse Head Succulent Planter. I made the entire project with paper mâché.
DonnieX says
I must say you have very interesting content here.
Your content can go viral. You need initial traffic only.
How to get massive traffic? Search for: Murgrabia’s tools go
viral
crystal elder says
do you have a video on how you made this step by step