Hang your hats with these adorable horse head hooks.
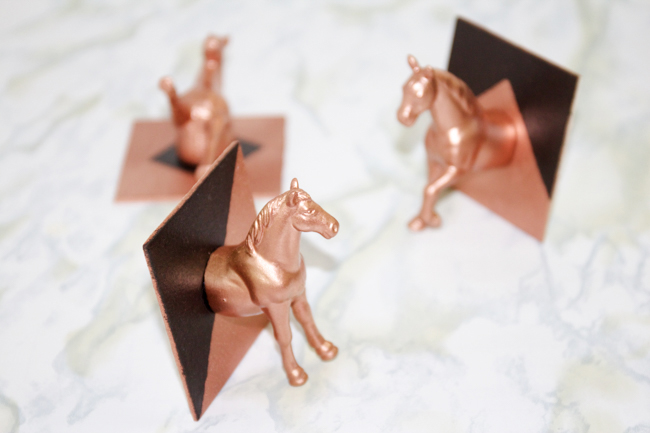
There are two things I love – faux taxidermy and spray paint so naturally this DIY horse head hook project was perfect for me to take on. Our new apartment in Silver Lake has been providing a blank canvas for creativity. The entryway hall features a large mirrored closet on one side and a blank wall on the other. Function and pretty design are important to me so I decided I wanted to hang my hats on the opposite wall of the closet, in a decorative way.
Most of the time you won’t see these adorable horse head hooks but I wanted them to be attractive when I take my hats off to wear them.
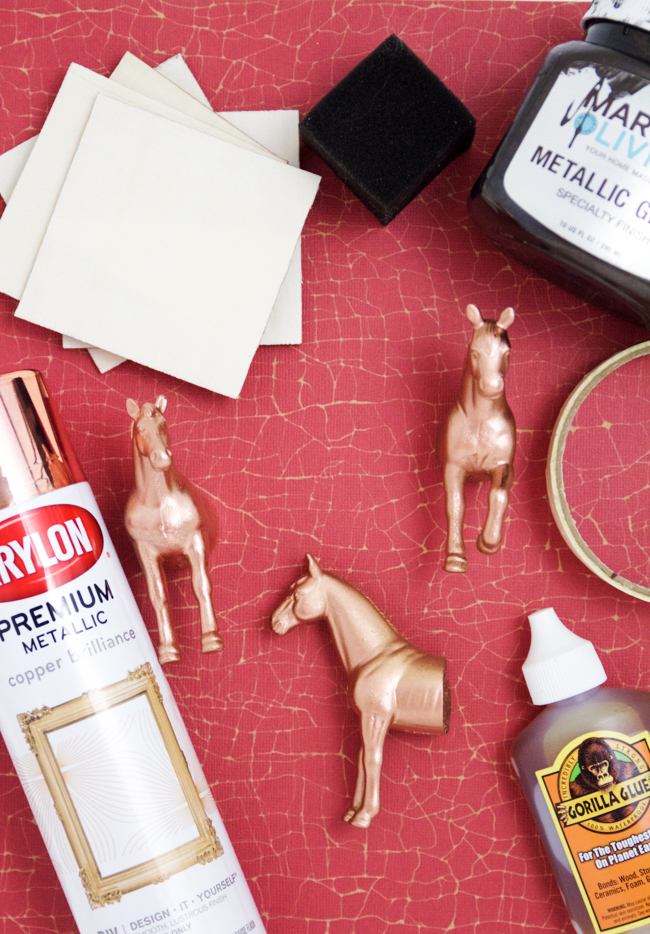
Supplies Needed:
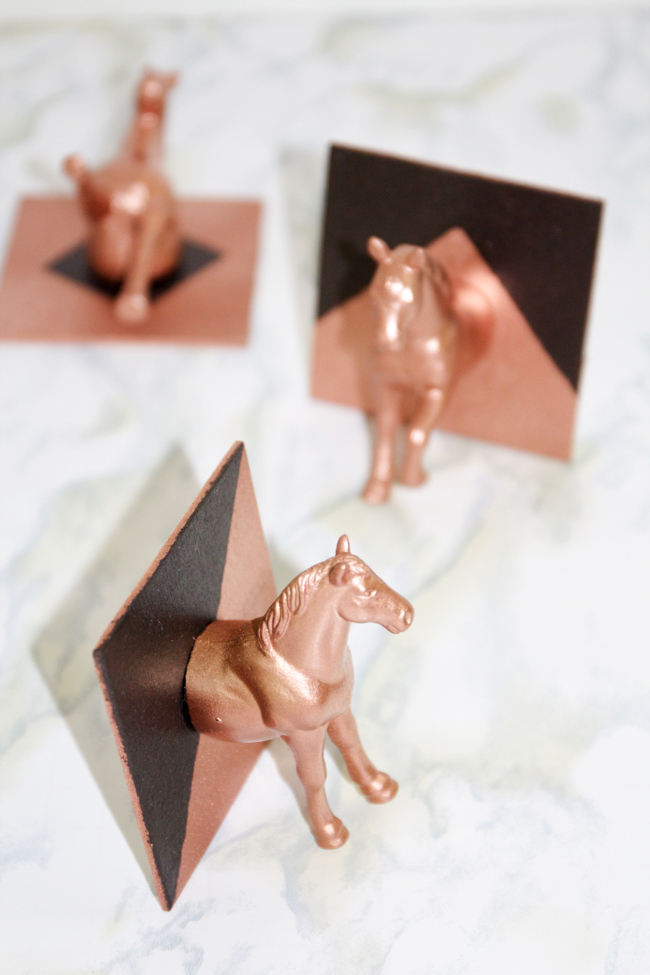
Toy plastic horses (cut in half), I used old toy horses from my childhood sandbox… I knew there was a reason I was hanging onto them. My dad hat cut these a while ago for my using a bandsaw. I was going to use them on a project a while ago but that never happened.
Wooden squares. You can pick these up at a local craft store or check out Amazon’s selection. Search for appropriate sized squares based on your toy horses.
Spray paint in any color. I used Krylon metallic copper spray paint.
Optional – other paint that isn’t in spray paint form, masking or painter’s tape to make lines or a design.
Gorilla Glue – it offers a strong hold for adhering the plastic to the wood.
Command picture hanging strips.
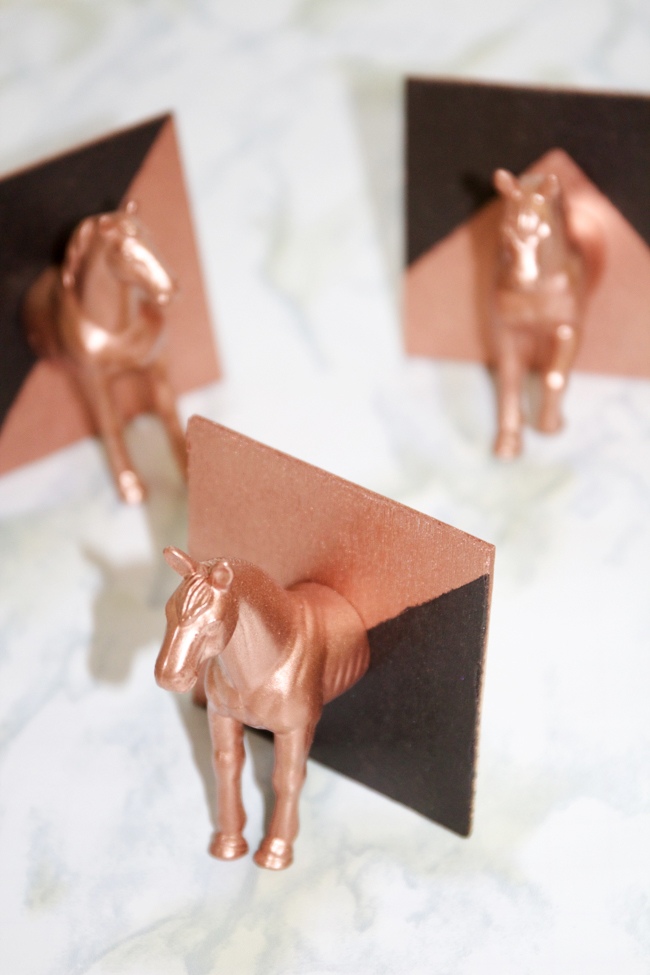
Instructions:
1. Head outside with your toy horses and spray paint. Cover the toys with several light and even coats for full coverage. If you are going to be making patterns or designs on your wood, spray paint those pieces as well. Allow them to dry completely before handling them.
2. Paint the wooden squares too if you are doing any designs. I used old masking tape to create straight lines and painted my wood with some metallic Martha Stewart paint of course.
3. Glue the horse heads. Carefully apply Gorilla Glue to the back of the horse. Firmly press down on the wooden background and hold it for about 30 seconds. I left my horse head hooks to dry overnight to make sure I would have a nice firm hold.
4. Finally attach Command picture hanging strips to the back of the wood and hang. I used one medium picture hanging strip per piece and I carefully followed the directions. Command strips are amazing for hanging all sorts of things and save renters like me from putting holes in the walls.
5. Allow the hooks to hang on the wall for at least an hour before you try and hang up any hats. I took caution again and let my hooks hang overnight before hanging my hats. The Command strips work great, but you shouldn’t apply weight to them right away if you don’t have to, this gives them a chance to bond to the wall.
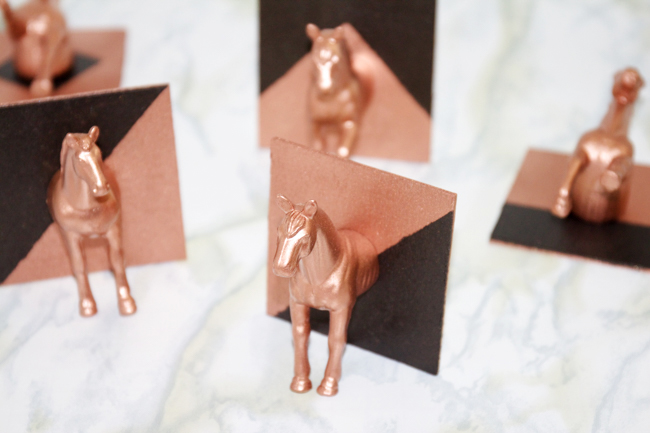
Use some creativity and make hooks that fit your style and tweak this DIY so it works for you. My designs were inspired by these Nate Berkus brass clips from Target.
The fun part is hanging up your hats on the wall, standing back, and admiring your work.
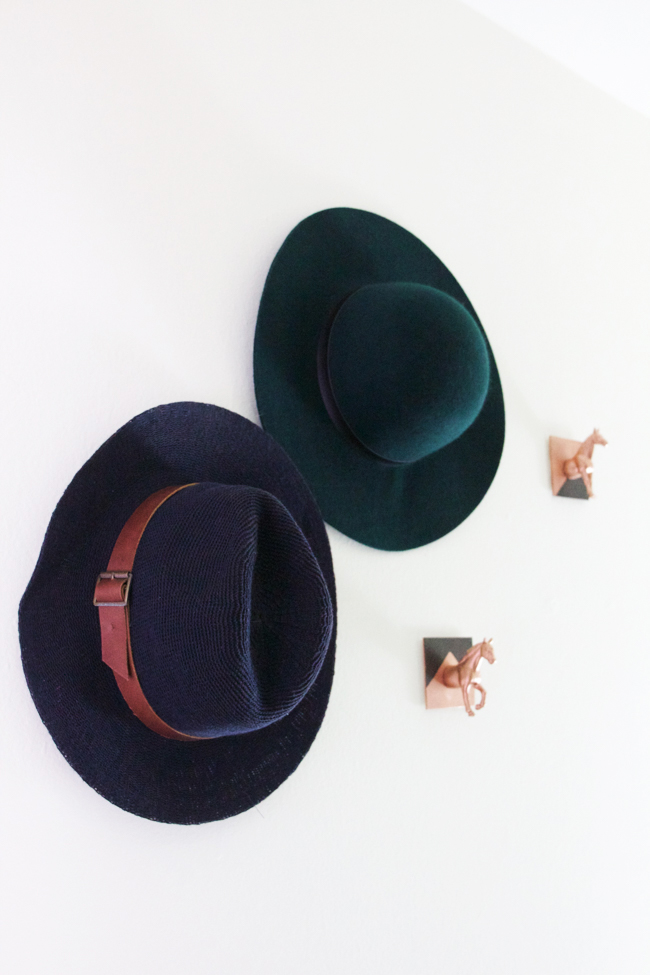
I made an extra hat hook because I’m on the hunt for a perfect pink hat this spring/summer. I also like the way one empty hook looks on the wall.
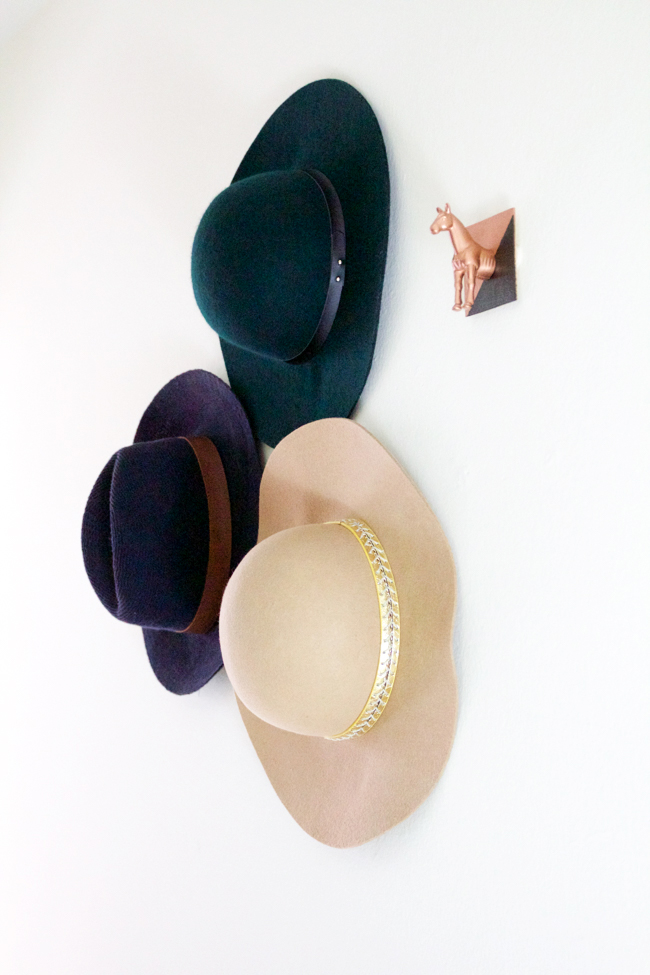
This is a really simple and cheap DIY project, I hope you will give it a whirl! Share your projects on Instagram using HandHDIY and tag @Horsesandheels_
Deborah Rubin says
Gorilla glue is poison in a bottle. There are plenty of safe alternatives out there.
Raquel Lynn says
Thanks for your comment Deborah. I would never want someone to eat glue, it is in fact very poisonous. 😉 But yes, if a reader wants to use an alternative type of glue, they are more than welcome. These DIY projects are just helpful guidelines.